
Welcome back to getting to know Sitecore search. In this post, we’ll look at the default setup and configuration of a new instance of Sitecore Search. We’ll look at the default source, catalog, pages and widgets. We’ll get familiar with a few sections of the admin portal. We’ll play with the api explorer to start imagining how the search would work on our site.
Default Source
Sitecore handles setting up your access to the Search admin portal along with your main source. Click on Administration/Sources to view your source configuration. From this page, you can manage all of the settings for your source including crawler settings, document extractors, scan frequency and more.
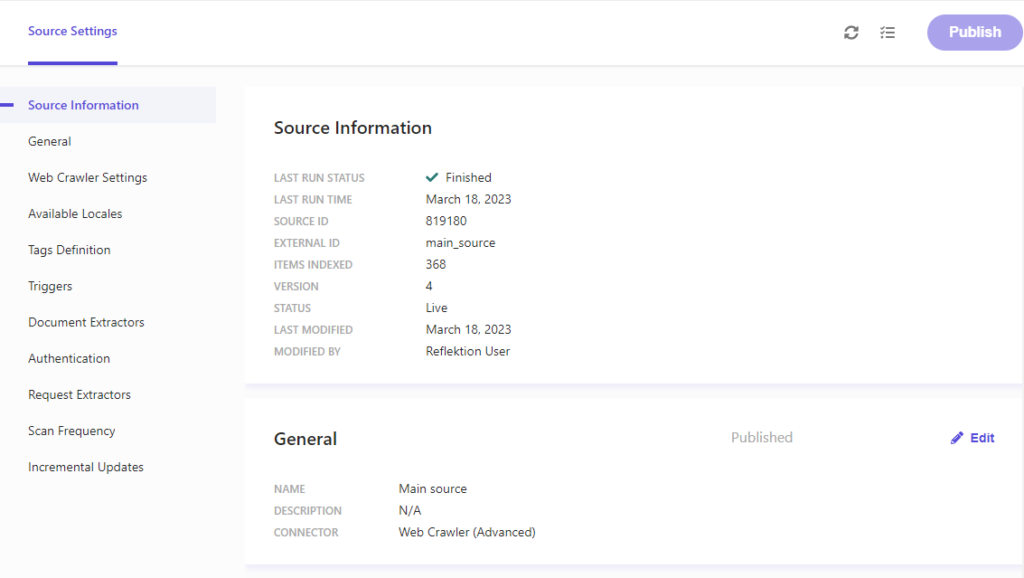
Source settings
The default crawler points to your primary website. It will only crawl urls in the allowed domains field. You can add other domains, set the max crawl depth, the max urls to find, custom headers and enable javascript. Be sure to set the max urls to a high number to ensure you don’t exclude content by hitting this limit.
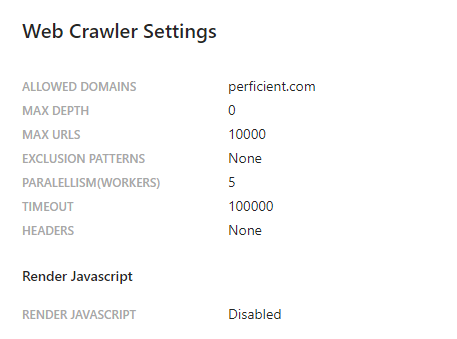
Web crawler settings
The default config has one javascript document extractor and one tagger. This javascript markup uses CheerioJS (https://cheerio.js.org/) which is a subset of jQuery. The tagger defines one tag with multiple attributes. Notice the fallback options on several of the attributes. If the meta description doesn’t exist, it will look for the og:description. If the og:description doesn’t exist it will get the text from the first p tag.

Javascript document extractor definition
You can view the source of the Perficient.com homepage and match the html to the tagger.
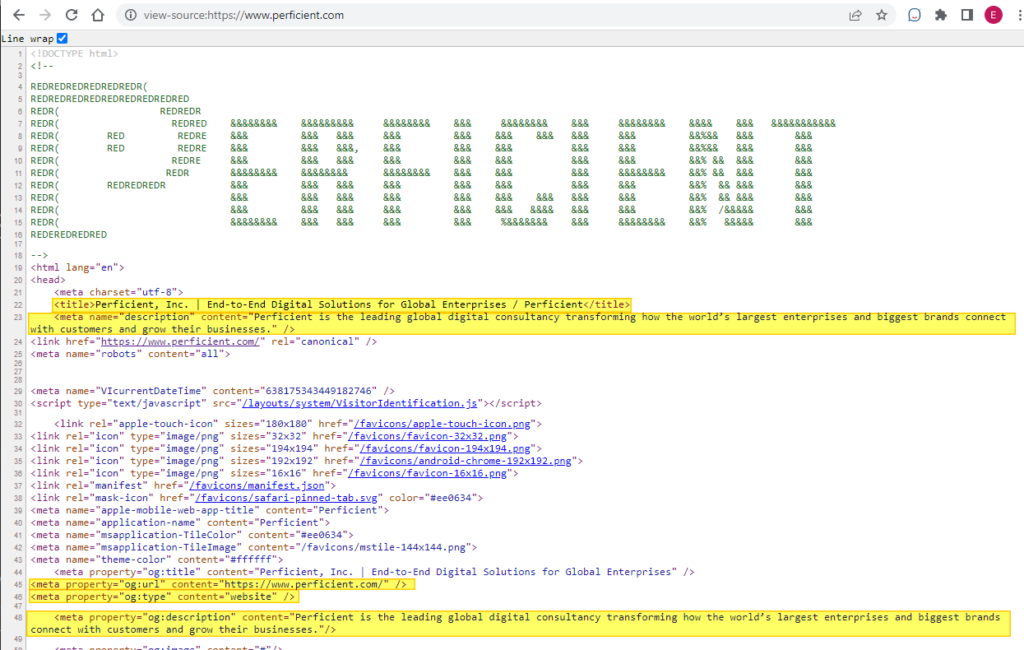
Perficient.com html source
We have both meta description and og:description. In this case, the meta description takes precedence (which doesn’t so much matter in this case since they have the same content). We do not have a meta searchtitle tag, so the title tag will be used instead.
Catalog
Your source has likely already been crawled and indexed by the time you log into your admin portal for the first time. Click Catalog/Content to view your indexed documents. You can use the Content Browser within the catalog to quickly validate a url is indexed.
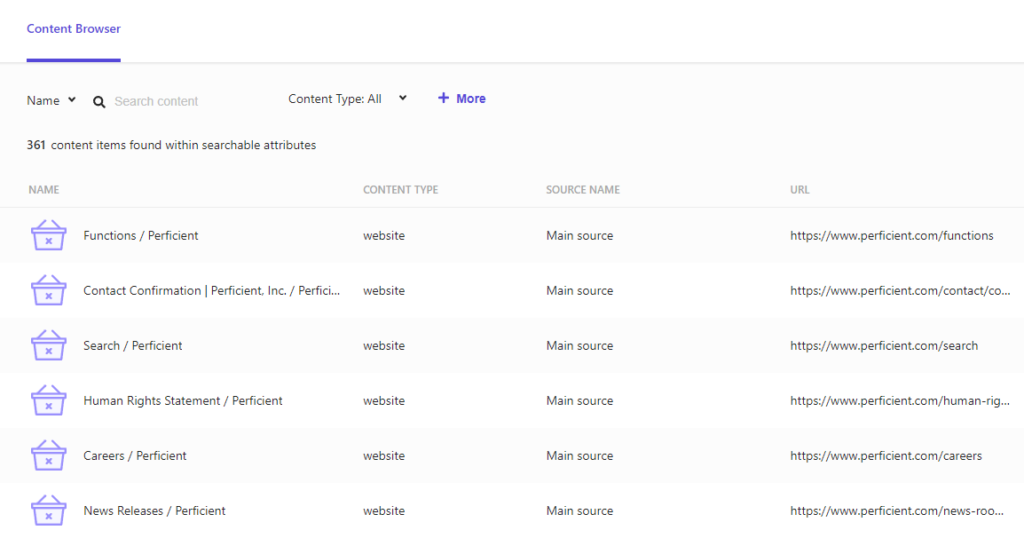
Content browser
You can click on each document to view the attributes, click stats, and performance. Notice each document gets a unique id within the Sitecore search system. This id is not related to the item id in Sitecore.
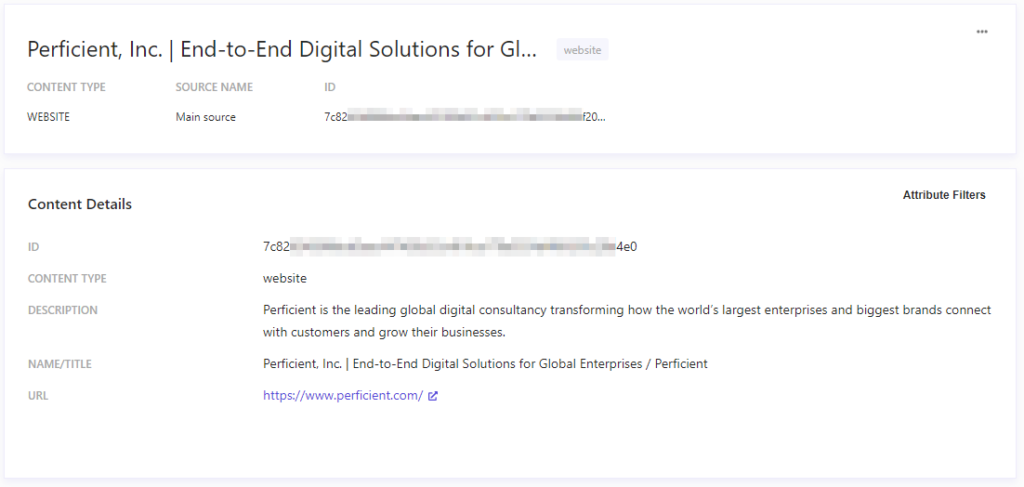
Indexed document
Default Pages
The default setup has one page with a default variation and uses the default search landing page widget.
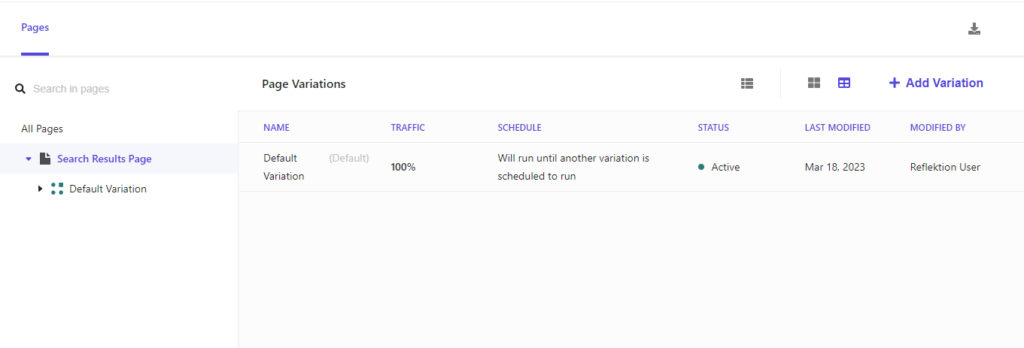
Default pages
This page maps to a page on your website where you will eventually integrate Sitecore Search. In the default setup, this maps to /search.
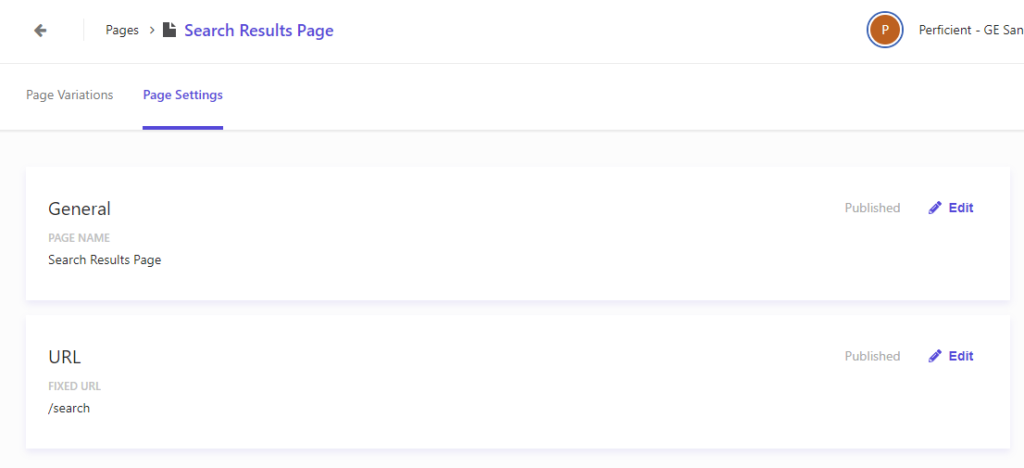
Page Settings
Default Widgets
The default setup has two widgets. One for Search Results landing page. One for Preview Search autocomplete/predictive search suggestions.

Default widgets
API Explorer
Without modifying anything from the default setup, we can use the api explorer to start imagining what our search results page could look like. Click Developer Resources/Api Explorer to interact with the Sitecore Search API.
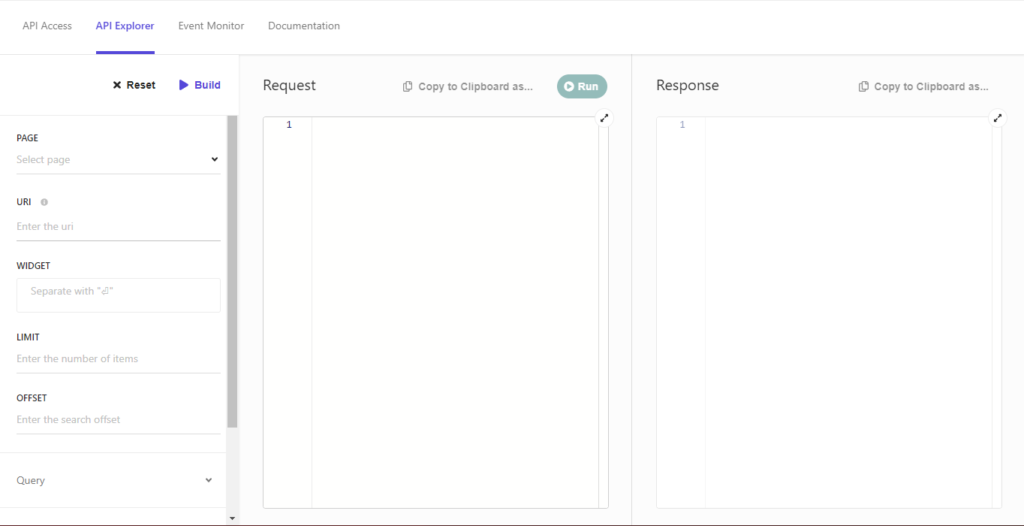
Api explorer
Use the first column to configure your settings. Select a page, which will fill in the uri and widget. Limit and offset are optional and will be used for paging the results. Expand the query section to add a keyword. We don’t have any facets or sort options yet, so we’ll ignore those for now. Click the build button at the top of the column to build the api request. We’ll use this request data to interact with the api when we build our UI. Click the run button at the top of the column to see the api response. You’ll see the results based on the default settings and the items currently in your catalog.
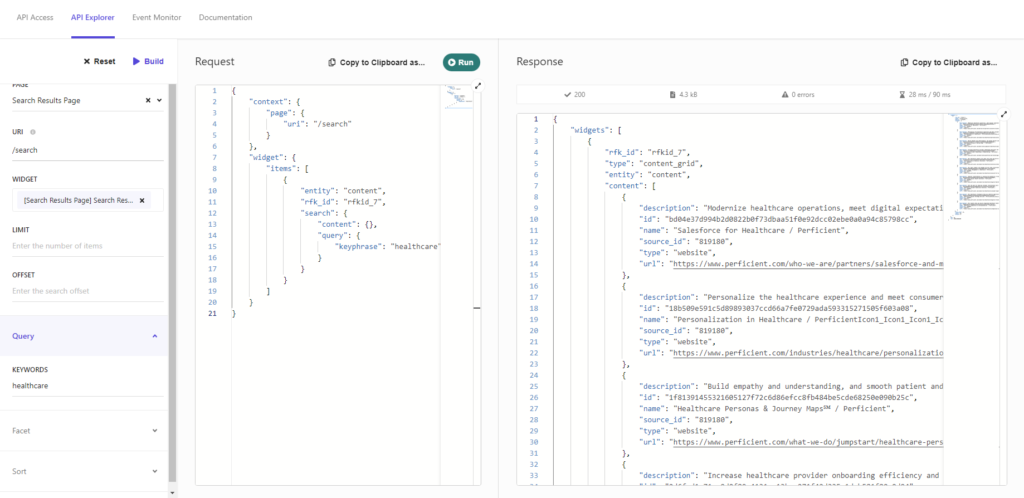
Api explorer request and response
In this example, I entered healthcare as my keyword. All of my results are related to healthcare as you would expect.
Up Next
In the next post, we’ll modify the source, document extractors and taggers to customize our indexed documents.
Follow me on linkedin to get notifications as new articles are posted.


